The introduction of 3-D printing technology in the 1980s signaled a dramatic change for the design engineering industry, promising a new way to create prototypes, cheaply and quickly. But that proved true only for plastic materials, which were no substitute for strong metal parts. For decades, metal 3-D printing remained elusive, requiring dangerous materials, powerful lasers, special facilities, highly trained operators, and long production times. That is, until Jonah Myerberg, Engr '03 (MME), and his Desktop Metal team delivered the new revolution last year.
Video credit: Computer Aided Technology
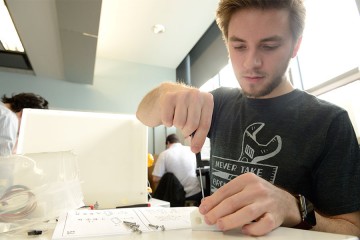
Having designed components for Black & Decker, Bose, and Formula 1 race cars, he understood the need for reliable, safe, and affordable metal 3-D printers. In April 2017, with Myerberg as chief technology officer, Desktop Metal introduced two first-of-their-kind metal 3-D printing systems. One, named the Production System, churns out machine parts on a scale that rivals the speed, cost, and quality of traditional manufacturing processes, only without the cumbersome requirement of specially designed molds for each new part. It's also 100 times faster and 10 times less expensive than laser-based 3-D systems. The other, shown here, is the Studio System, which sits in the engineer's office and produces ready-to-work metal components in as little as two days and six steps, circumventing a process that typically takes weeks or even months.
Step 1
In some remote location, a mining tractor's metal brake housing cracks, which means the brake will fail. The mine operator, who has a Studio System in a nearby outpost, pulls up a digital file of the brake housing's design and uploads it to Desktop Metal's cloud-based software, which Myerberg calls the "behind- the-scenes magic." The software assures that the part is printed at the right size and shape, adjusting for the required alloy's molecular structure (for example, stainless steel behaves differently than copper). The software also programs the support structure—the metal material that substitutes for the traditional mold, helping to form the part's shape throughout the process.
Step 2
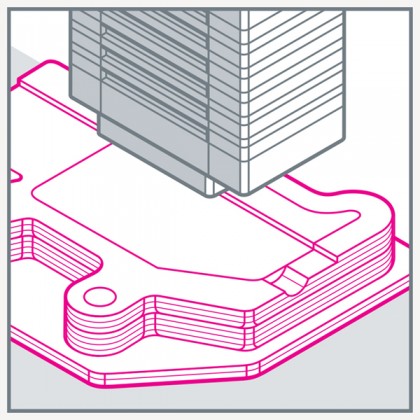
Within minutes, the file and system commands return to the outpost, and the Studio System printer gets to work. It applies a mixture of the metal alloy powder and a polymer binder—which holds the powder particles together—in microthin layers that stack up to a three-dimensional shape. At the same time, the printer applies the support structure along with a separating ceramic substance that will play a key role in Step 5.
Step 3
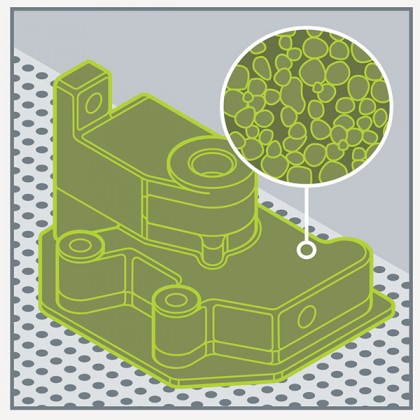
The brake housing and its support are moved from the printer into a debinding fluid, which dissolves most of the binder, leaving porous channels of air between the metal particles.
Step 4
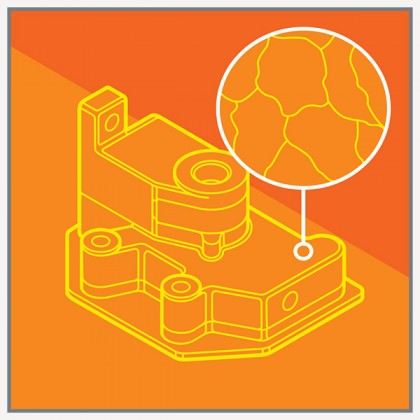
The brake housing is then placed in the third and final Studio System device, called the sintering furnace. Here, it is heated to a temperature just below the alloy's melting point, creating enough energy to remove the remaining binder and fuse the particles together.
Also see
In this step, which densifies and strengthens the component, it may physically shrink as much as 17 percent while maintaining its definition and, most importantly, its function.
Step 5
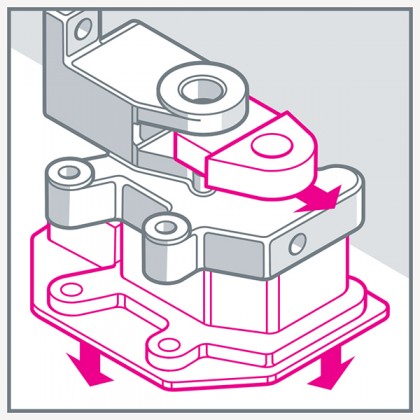
Once it cools, that thin layer of ceramic material allows the operator to separate the brake housing from the support structure by hand, much like popping the pieces from a cardboard cutout.
Step 6
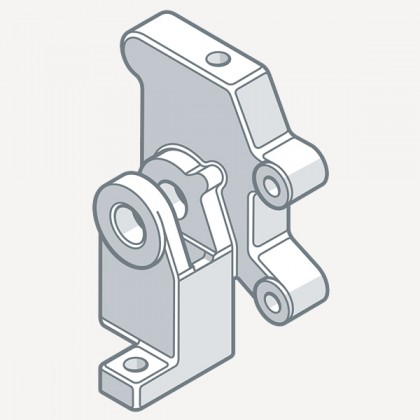
The new part—as strong and durable as if it came off the production line—is sent out to the tractor, and the printer is ready for whatever new design comes next.
Posted in Science+Technology
Tagged 3-d printing